Internal Linking Module - Documentation
Internal Linking Module Documentation
This module allows you to add an ‘Internal Linking Module’ to any of your website pages. The documentation will walk you through how to set up and install the Internal Linking Module. Should you have any questions, please click on the support link to get in touch.
Setting Up The Internal Linking Module
-
Navigate to Marketing > Files and Templates > Design Tools and select the page template you wish to add the module to.
-
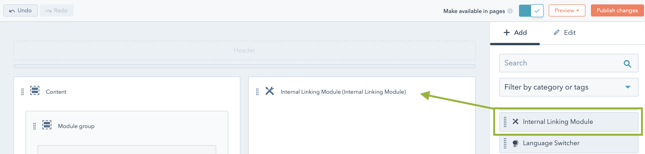
From the right toolbar select Add+ and then Internal Linking Module and drag it into the Body section of your template.
-
Publish your template and then navigate to Marketing > Website > Website Pages
-
Select one of your website pages which uses the template you just edited and click Edit

Customise Your Internal Linking Module
To customise which posts or pages appear in your internal linking module follow the process below:
-
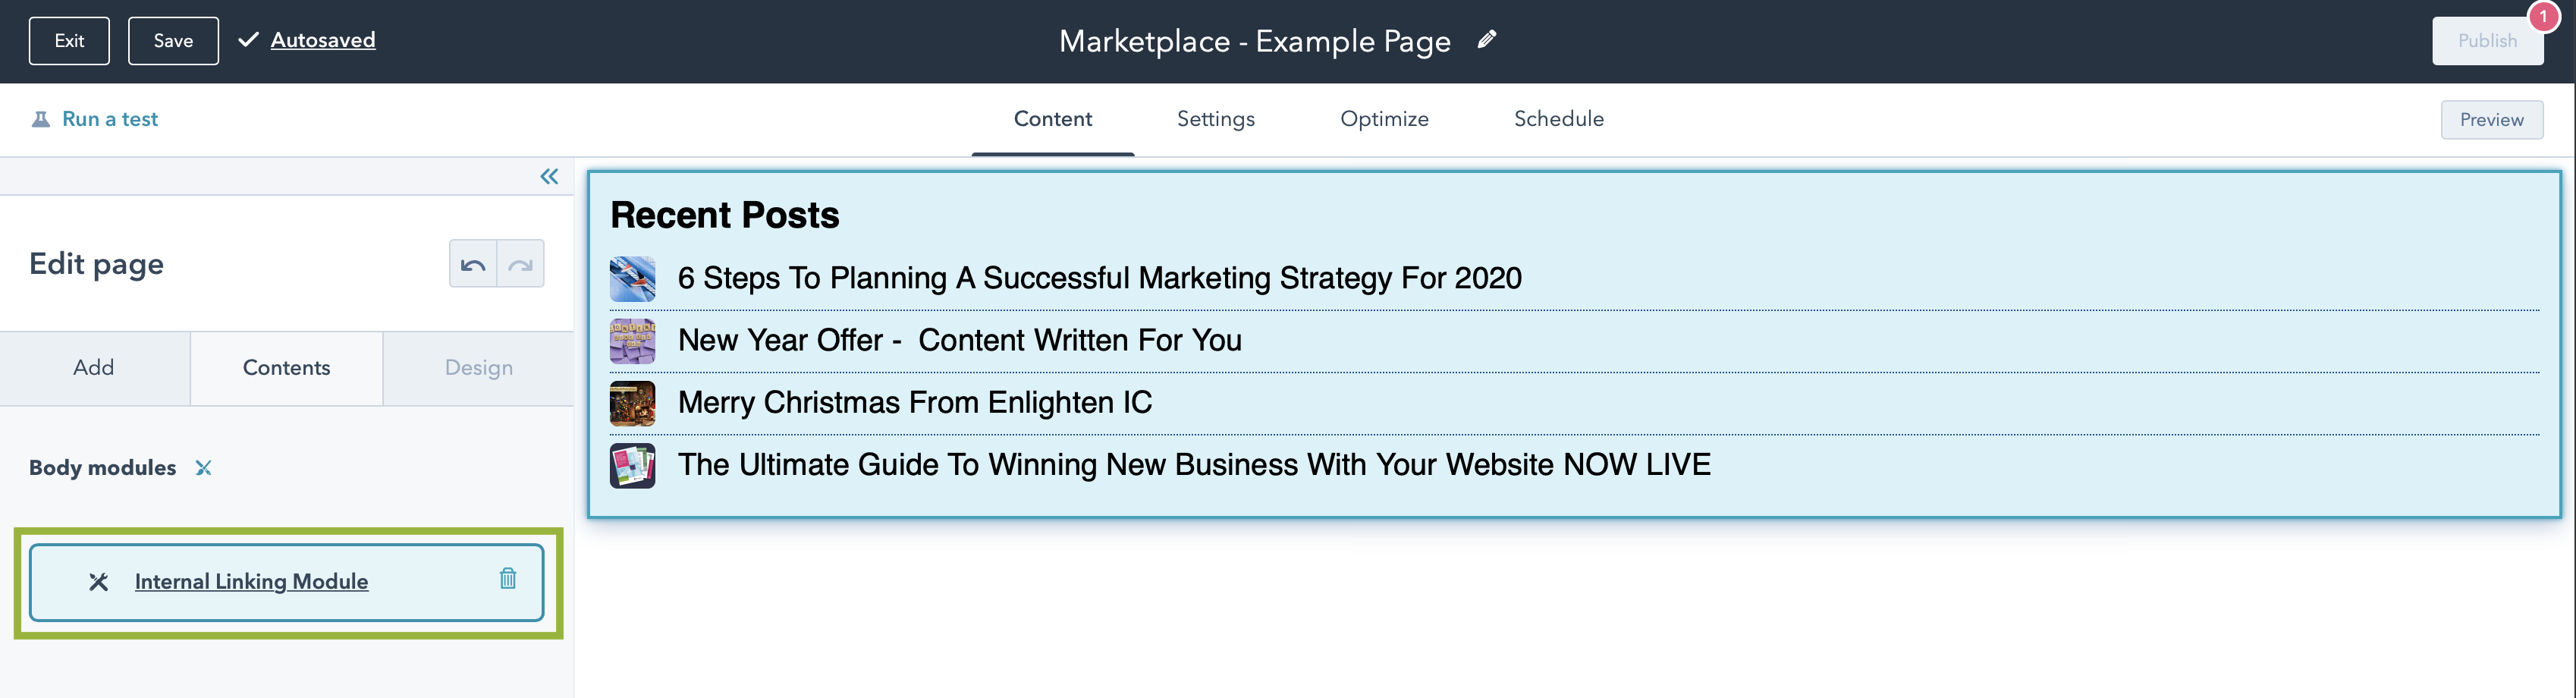
From the left side panel, under the content tab select the Internal Linking Module module
-
The following options will appear within the panel:
Show Internal Linking Module - This option allows you to turn the Internal Linking Module on or off. This is useful if your template is used across multiple pages but you don't want to use the button on a specific page. By default this option is set to no to allow you to install the module without it appearing before you make edits to it.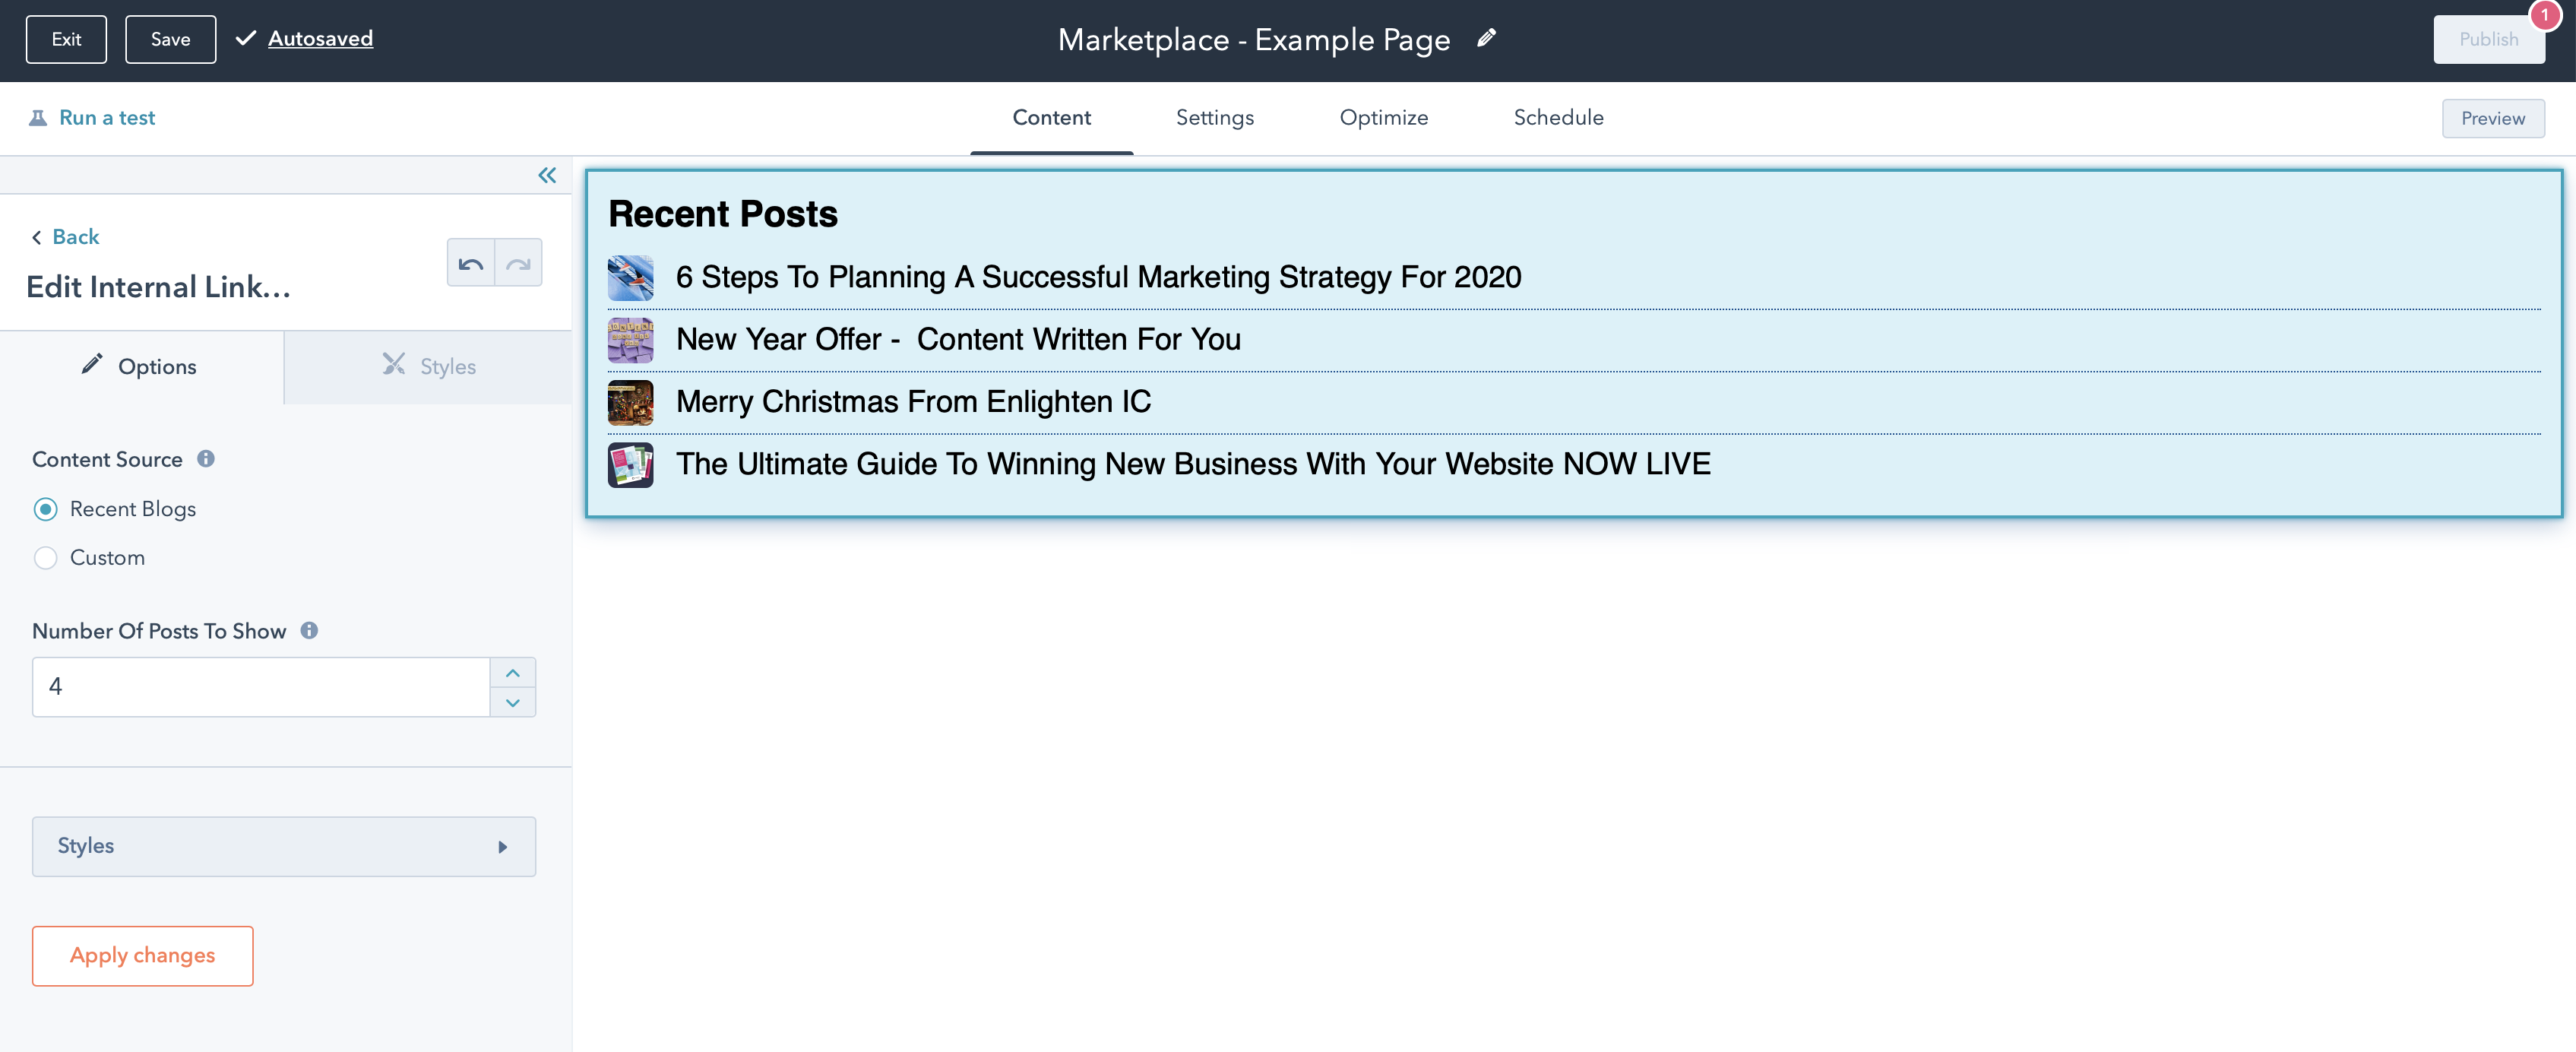
Content Source - This option allows you to select which content gets displayed in your recent posts panel. The default is Recent Blogs which will pull in a feed of your recent blogs. If you select Custom a section called Blog Posts will appear.
In this section there will be 3 default options which you can edit or delete. If you would like to add additional links to your panel you can select Add+ which will create a new link.
To select the pages you would like to link place select edit on one of the options to display a Content selector. Use this dropdown menu to select the page you want to link to and click Apply Changes. You can add up to 8 links.

Styling The Internal Linking Module
Styles - Clicking this option will open the module’s styling editor. You can use these options to customise the style of the module so it matches your website’s brand identity. The options within this panel are:
Image Border Radius - This controls the border radius of the images which appear in the Internal Linking Module.
Background Colour - This controls the background colour of the panel.
Panel Border Radius - This controls the border radius of the Internal Linking Module.
Dividing Link Colour - This controls the colour of the line which divides the blog posts.
Enable Image Border - This controls whether or not an image border is added to the thumbnail images within the Internal Linking Module. If set to yes options to control the thickness and colour of the border will appear.
Drop Shadow - This section allows you to edit the drop shadow which is applied to the Internal Linking Module. The options for this panel are:
Drop Shadow colour - This allows you to edit the colour of the drop shadow.
Drop Shadow Size - This allows you to edit the size of the drop shadow.
Drop Shadow Spread - This allows you to edit how far the drop shadow spreads from the panel.
How to integrate the Internal Linking Module in the middle of a Blog Post.
-
Navigate to Marketing > Files and Templates > Design Tools and select the Internal Linking Module from the left hand side.
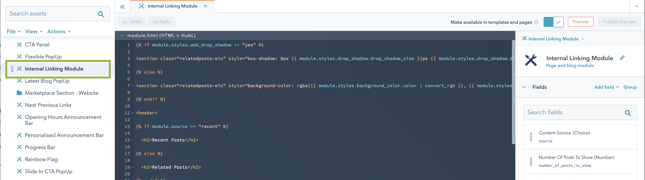
-
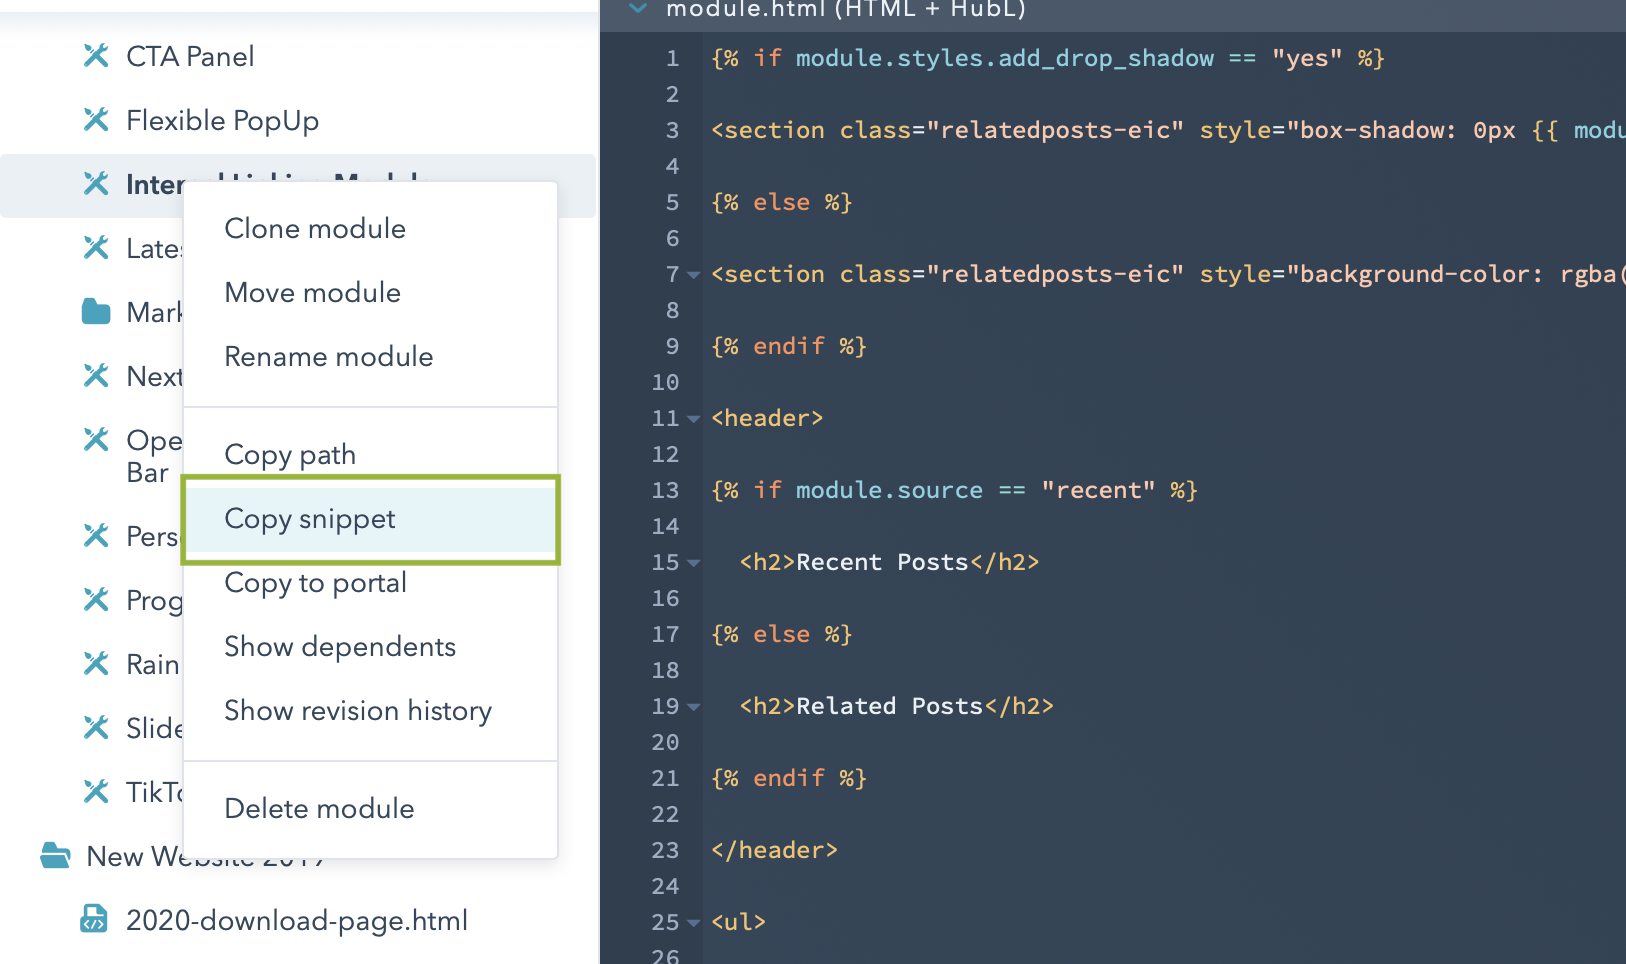
Right click on it and select Copy Snippet.
-
Paste the snippet into a text editor which will look something like this:
{ % module "module_158316625961735" path="/Marketplace Files/Internal Linking Module", label="Internal Linking Module" % }
You will need to edit this snippet to include the following code:
no_wrapper=True
The updated code will therefore look like this (note that some values may differ in your own portal):
{ % module "module_XXXXXXXXXXXXX" path="/Marketplace Files/Internal Linking Module", label="Internal Linking Module” no_wrapper=True % }
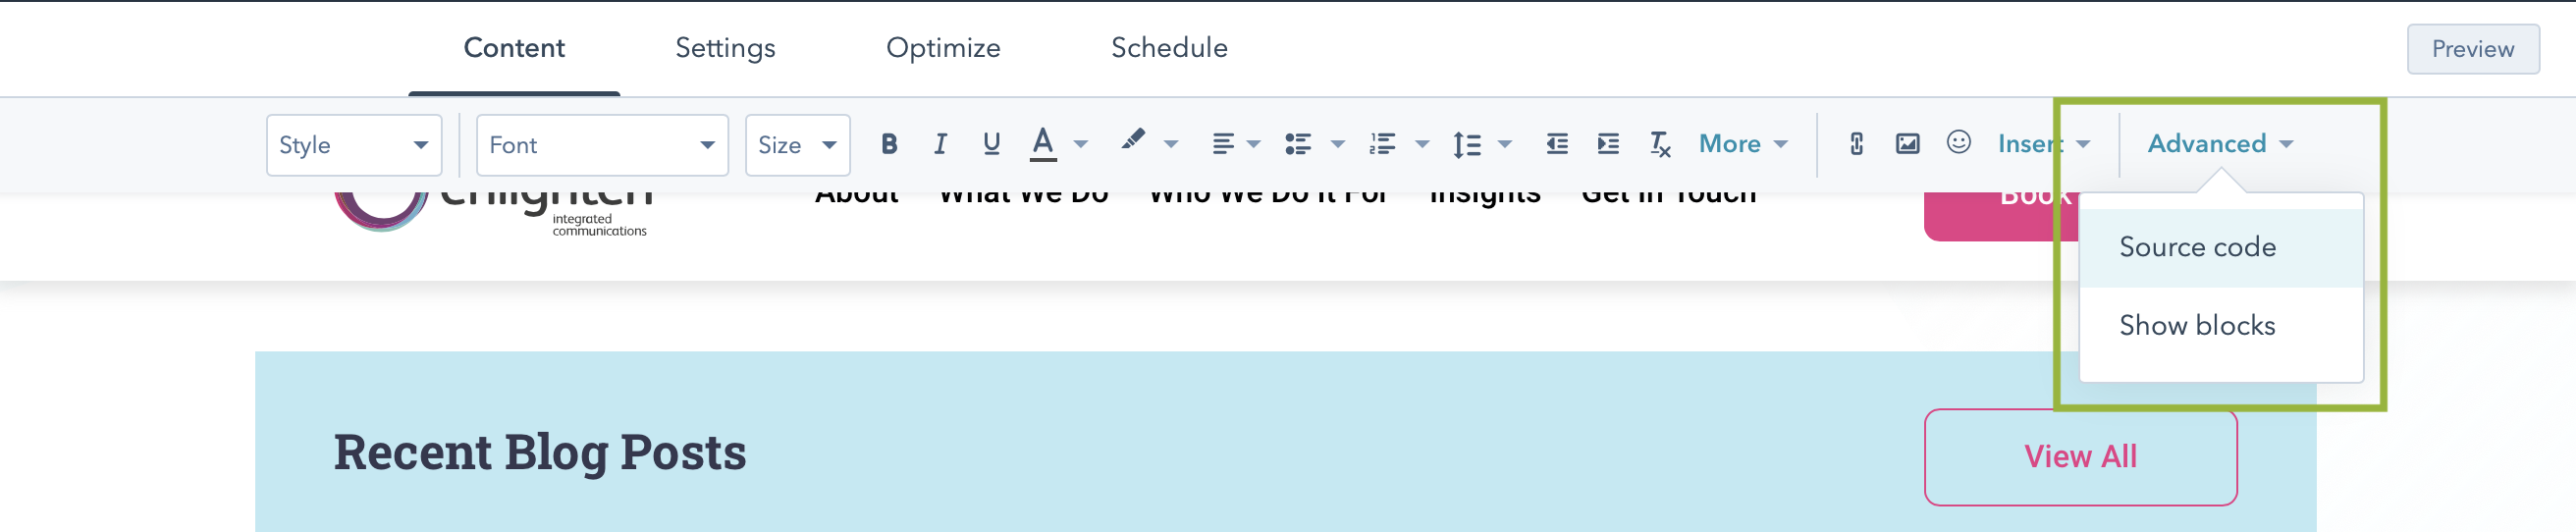
Now copy this code and navigate to the blog post in which you wish to add the Internal Linking Module.When editing your blog post select Advanced > Source Code from the top menu bar.
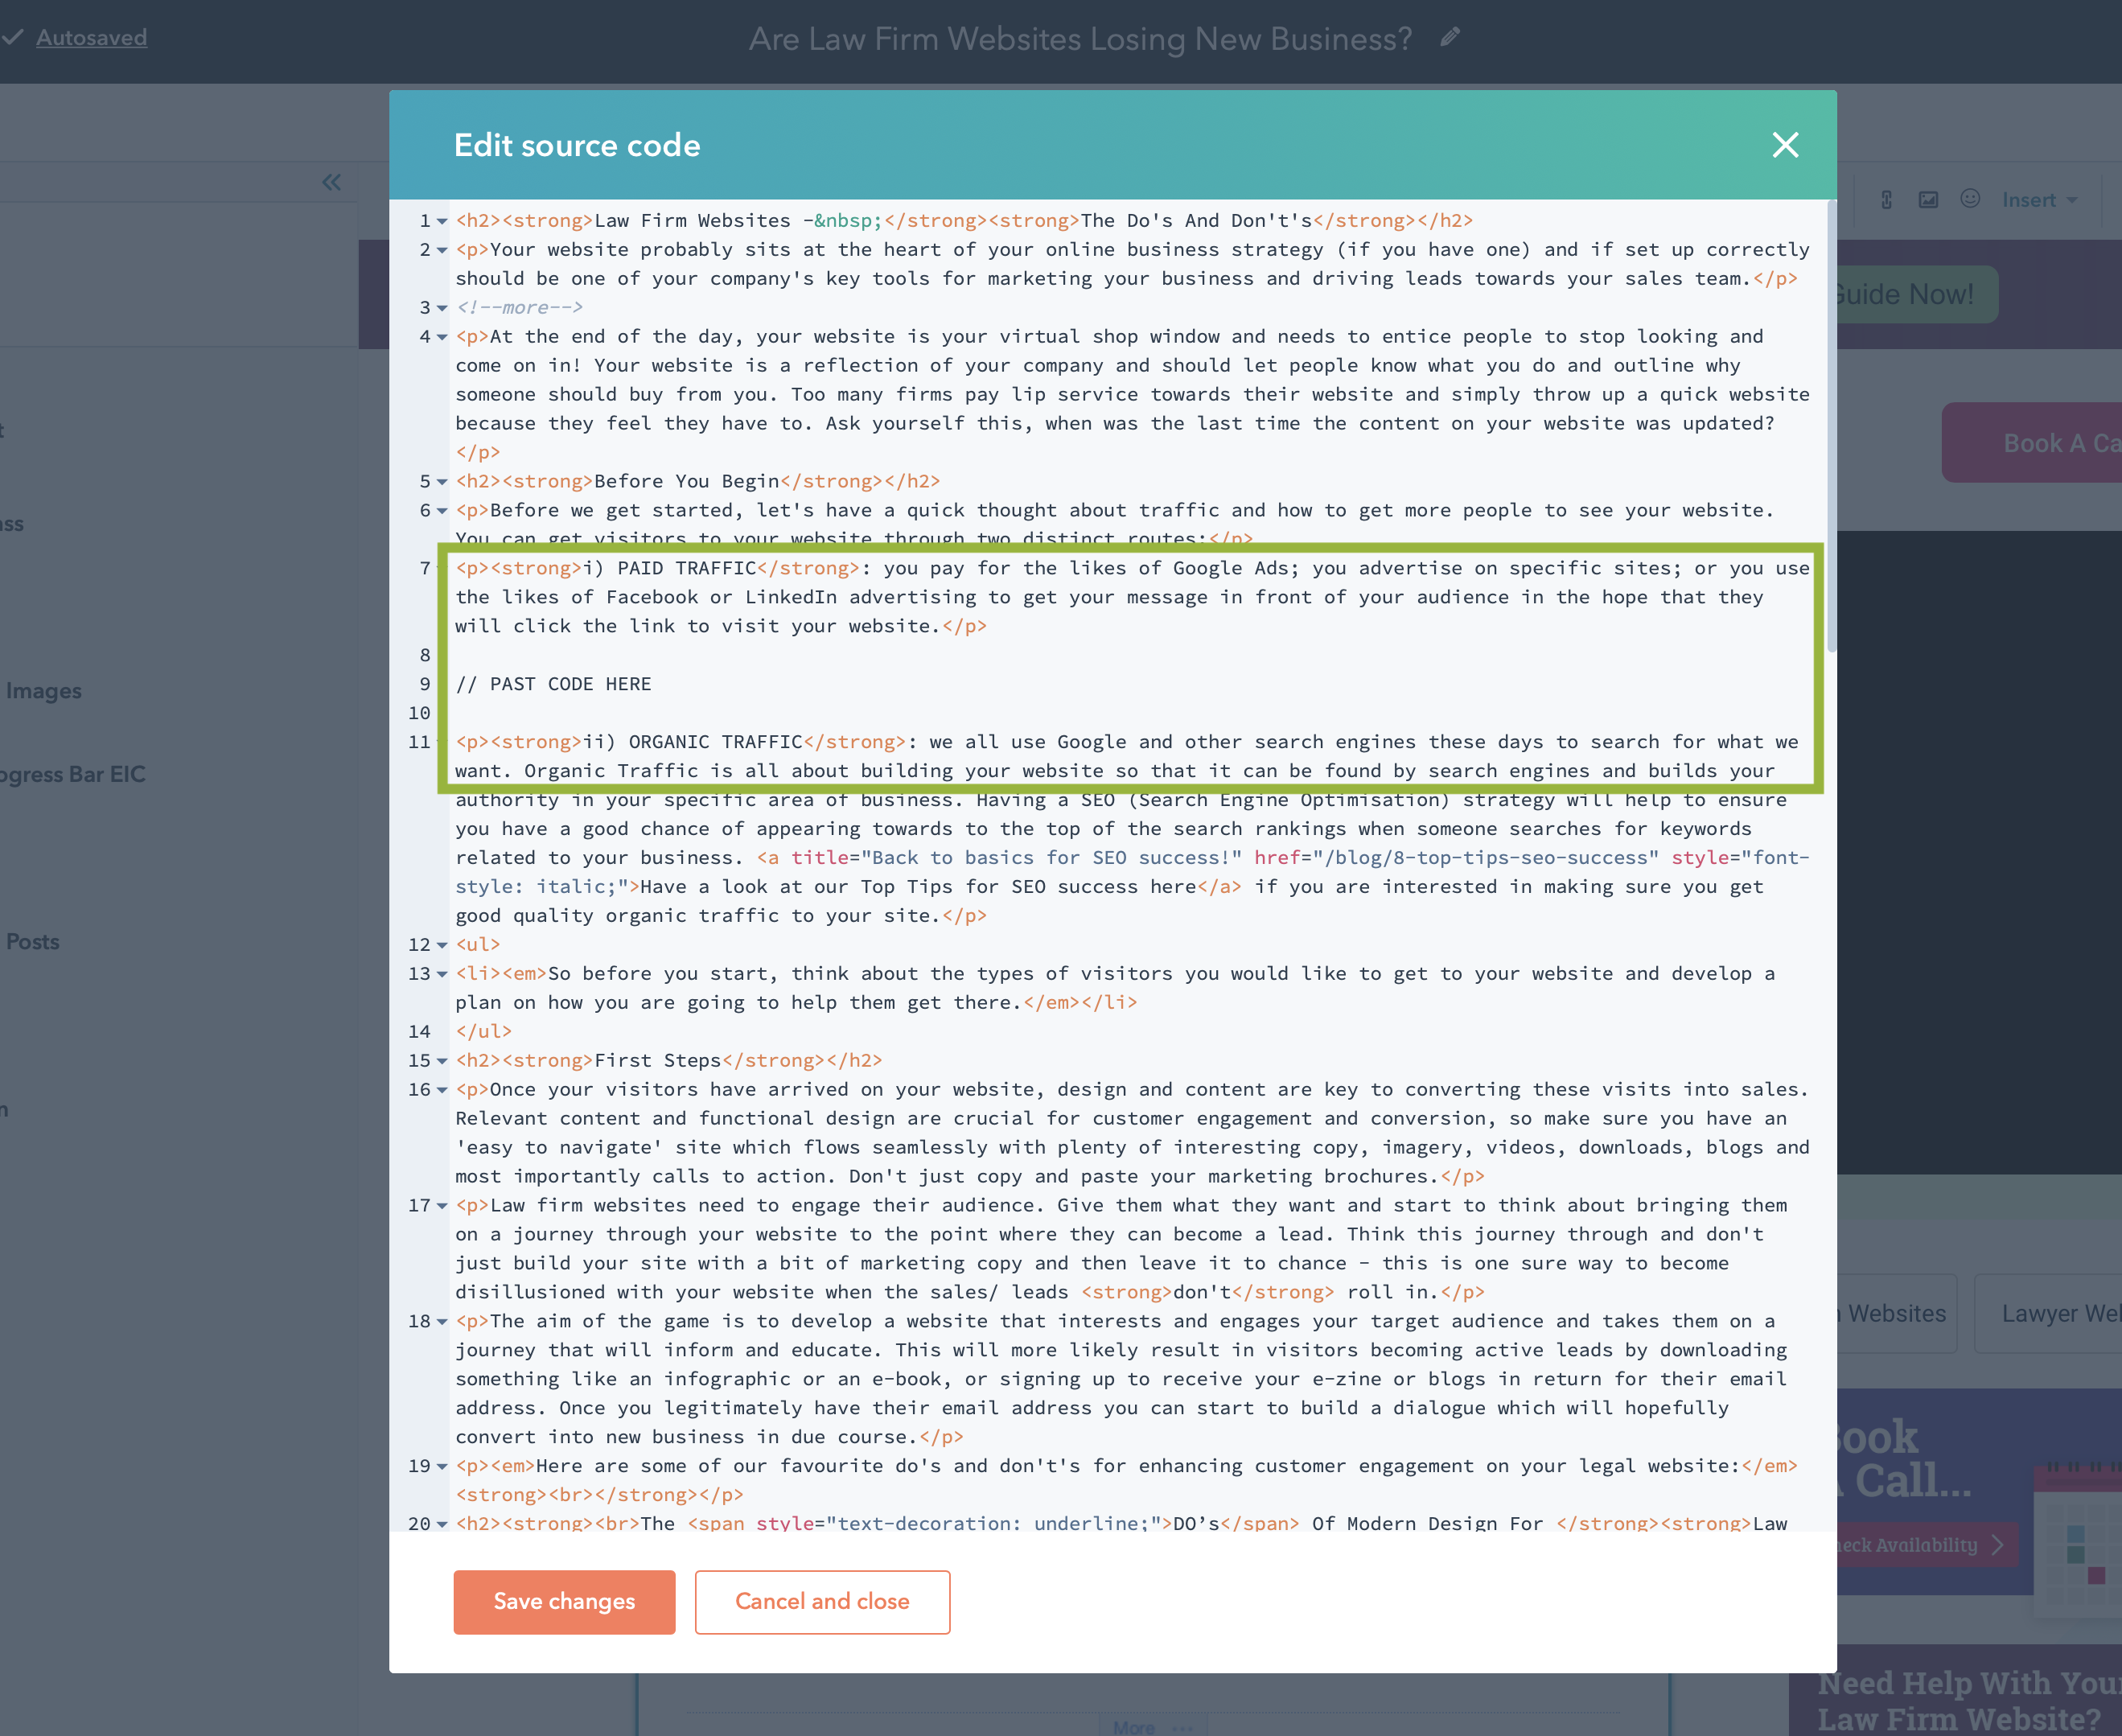
Paste the snippet in between the <p> tags where you would like it to sit on your page. In most cases the resulting HTML will look similar to this:
</p>
{% module "module_XXXXXXXXXXXXX" path="/Marketplace Files/Internal Linking Module", label="Internal Linking Module” no_wrapper=True %}
<p>
Please note this is an advanced integration and we take no responsibility for any breakages to your websites HTML that result from incorrectly embedding the Internal Linking Module into your layout. We strongly recommend you consult with a web designer or developer before attempting this.
Final Thoughts
We have tried to build as much functionality into this module as possible without making it too complicated. If, however, you have specific requirements for your business, please get in touch and we will see if this module can be customised further to meet your needs or if a bespoke module would be more appropriate.
Looking For
Custom Development?
We provide development solutions for companies and agencies who need help building their websites from scratch or adding custom functionality along the way
Get In Touch