Slide-In CTA PopUp - Documentation

Slide-In CTA PopUp
This module can be used to display a Slide-in CTA PopUp on your website. It is a global module meaning it can be added to multiple pages on your website but only needs to be updated once for the change to apply across the whole site.
The documentation will walk you through how to set up and install the Slide-in CTA PopUp. Should you have any questions, please click on the support link to get in touch.
Setting Up The Slide-in CTA PopUp
-
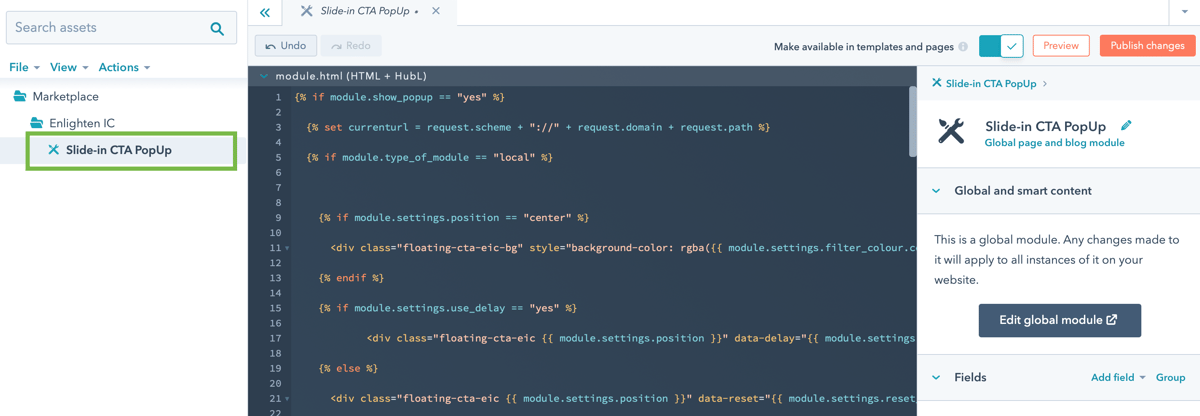
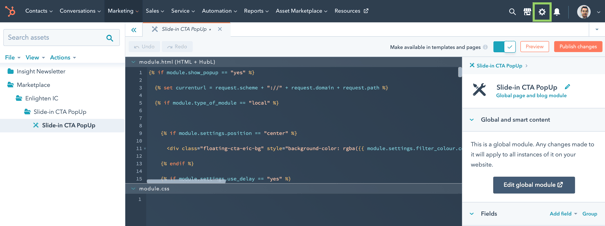
After purchasing the module from the HubSpot Marketplace the first step is to set up the module, to do this navigate to Marketing > Files and Templates > Design Manager and select Slide-In CTA PopUp from the left hand side menu (It will be listed in a folder named Marketplace).
-
Select Edit global module from the right hand side to open HubSpot's Global Content Editor.

Customising the Slide-in CTA PopUp
The options on the left hand side are: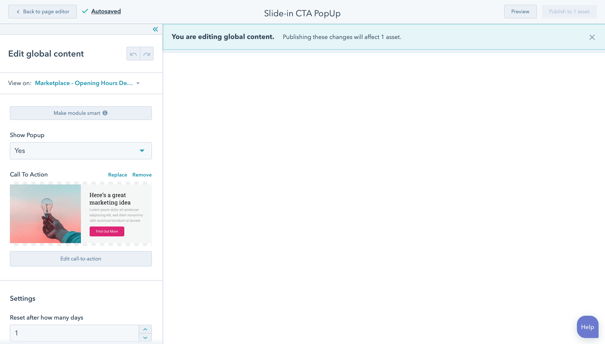
Type Of Module - This option allows you to choose what type of module you wish to include on your page. By default the module is Global but can be changed to a Local module if you wish. Follow the guide at the end of this documentation on how to switch your module from a Global module to a Local module.
Show PopUp - This option acts as a global switch to enable / disable the Slide-in CTA PopUp. This option is set to no by default so make sure you set it to yes when you want to make the PopUp live on your website.
Call To Action - This option allows you to select which of your HubSpot Call To Actions you would like to use in the module.
Settings - This section contains customisable settings to help you personalise the Slide-in CTA PopUp module to your website. The options in this section are:
Reset after 'X' days? - This value controls the time it takes for the Slide-in CTA PopUp to reappear after it has been shown to a visitor on your website. By default when a visitor views the Slide-in CTA PopUp and closes it to navigate to another page on your website the Slide-in CTA PopUp will not reappear for 2 days, however, you can set this value to whatever you prefer.
Show after elapsed time? - This value allows you to enable / disable whether or not the Slide-in CTA PopUp is triggered after a certain amount of time has elapsed. This is useful if a visitor lands on a page but doesn’t take any further action such as scrolling, using an elapsed time is a way to re-catch their attention.
Scroll Value - This value can be used to control how scrolling affects the Slide-In CTA PopUp. The option Pixels allows you to show the Slide-in CTA PopUp after the visitor has scrolled a certain amount of pixels. The option Percentage allows you to show the Slide-in CTA PopUp after the visitor has scrolled a certain percentage of your web page, this value is defined in multiples of 10% e.g. 10%, 20%, 30% etc.
Position - This allows you to modify how your Slide-in CTA PopUp is docked to the visitor's screen. The module can be docked to either the top left, middle left, bottom left, top right, middle right, bottom right or centre of a visitor's screen. If ‘Centre’ is selected as the position an option titled Filter Colour will appear.
z-index - This option is used if you discover the Slide-in CTA PopUp overlaps other elements on your web page. The element with the highest z-index will always display on top of other elements on your website. The default value is "100000000" but you may need to increase this if other elements on your website use a similar high numbered z-index.
Filter Colour - This option appears when the Position value is set to Centre. The purpose of this property is to control the background colour of the page filter which is applied when the Slide-in CTA PopUp is positioned in the centre of a visitors screen.
Filter z-index - This option is used if you discover the filter overlaps other elements on your web page when Position is set to Centre. The element with the highest z-index will always display on top of other elements on your website. The default value is "10000000" but you may need to increase this if other elements on your website use a similar high numbered z-index.
Close Button Colour - This value allows you to customise the colour of the PopUp's close button.
-
Choose The Pages Your Module Is Displayed On
This section allows you to control the pages the module is displayed on. By default the module is set up to appear on every page of your website, however, you have two ways to control this.
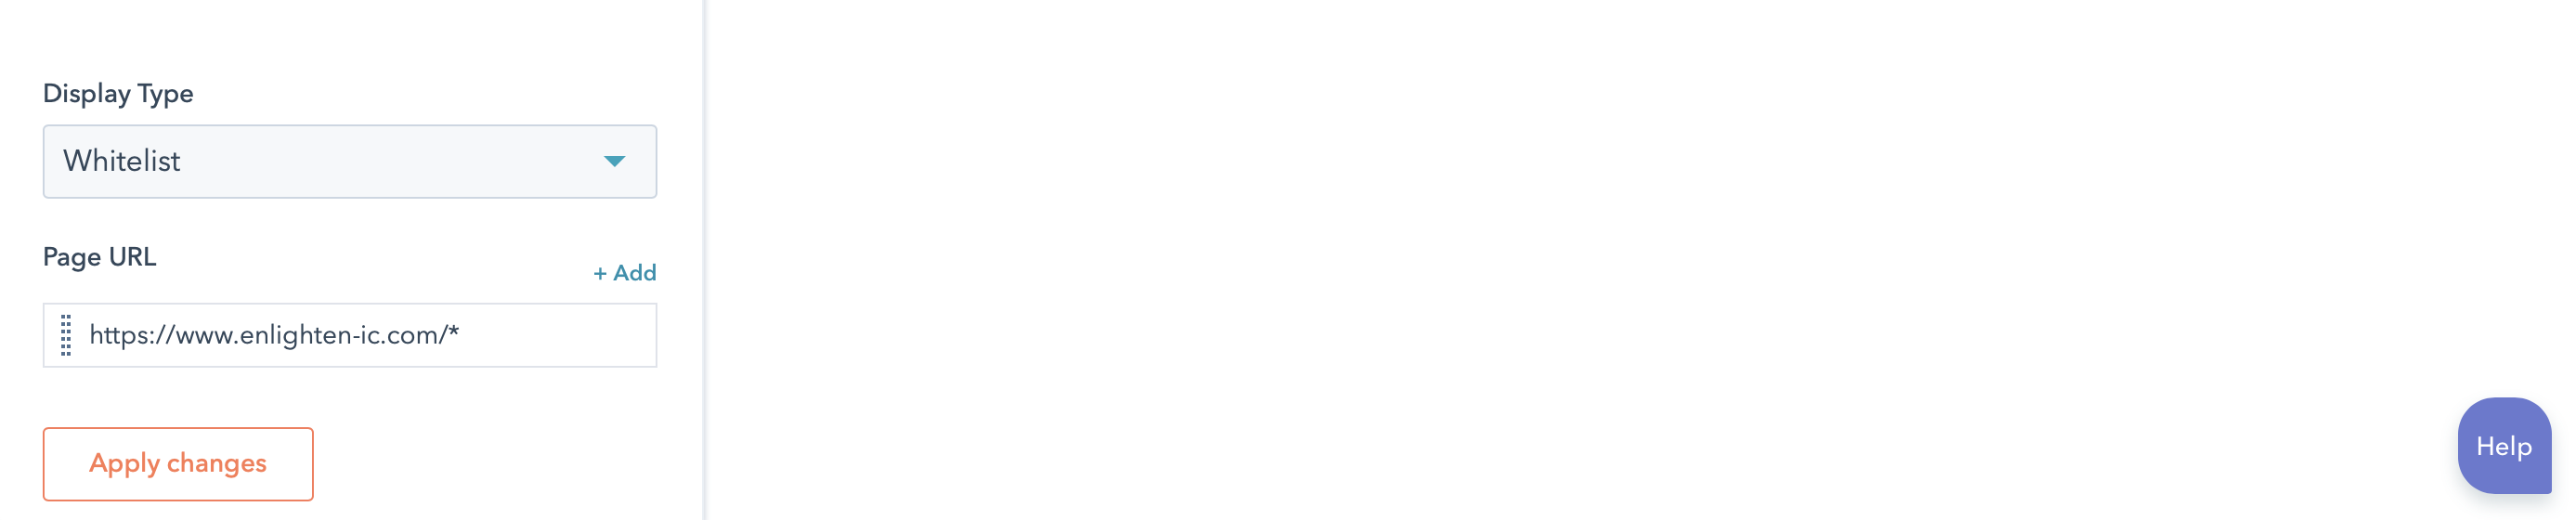
Whitelist
The module can be setup using a whitelist meaning that by default the module will be hidden on all website pages except the approved URLs on the whitelist. If the Display Type option is set to Whitelist the module will not appear on any of your website and blog pages except those with the page URLs defined under Page URL.Blacklist
The module can also be setup using a blacklist meaning that by default the module will appear on all website pages except those restricted URLs via the blacklist. If the Display Type option is set to Blacklist the module will appear on all your website and blog pages except those with the page URL's defined under Page URL.Wildcards
If you would like to restrict the Slide-in CTA PopUp so it doesn't appear on a whole section of your website you can use a wildcard operator to limit this. For example, if you want to turn off the Slide-in CTA PopUp in your Services section and every page in the section follows the same URL pattern e.g. www.yourdomain.com/services/service-name you could use the wildcard operator '/*' to easily exclude this section by adding: www.yourdomain.com/services/*
How To Install The Slide-in CTA PopUp
Now you have set up the Slide-in CTA PopUp you are ready to make it live on your website. There are several ways to add a HubSpot module into your website but to provide maximum flexibility and ease of control we recommend you follow the process below:
-
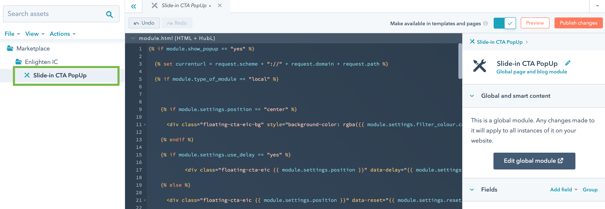
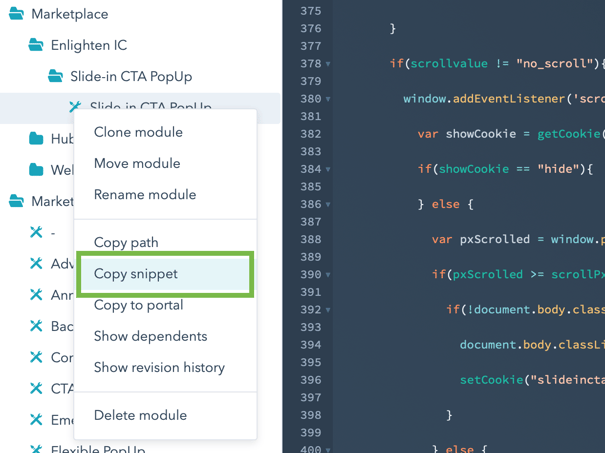
Navigate to Marketing > Files and Templates > Design Tools and select Slide-in CTA PopUp from the left hand side menu (It will be listed in a folder named Marketplace).
-
Right click and select Copy Snippet
-
Select the Settings icon (⚙) which will load your HubSpot portal's settings
-
From the left menu select Website to open the submenu...
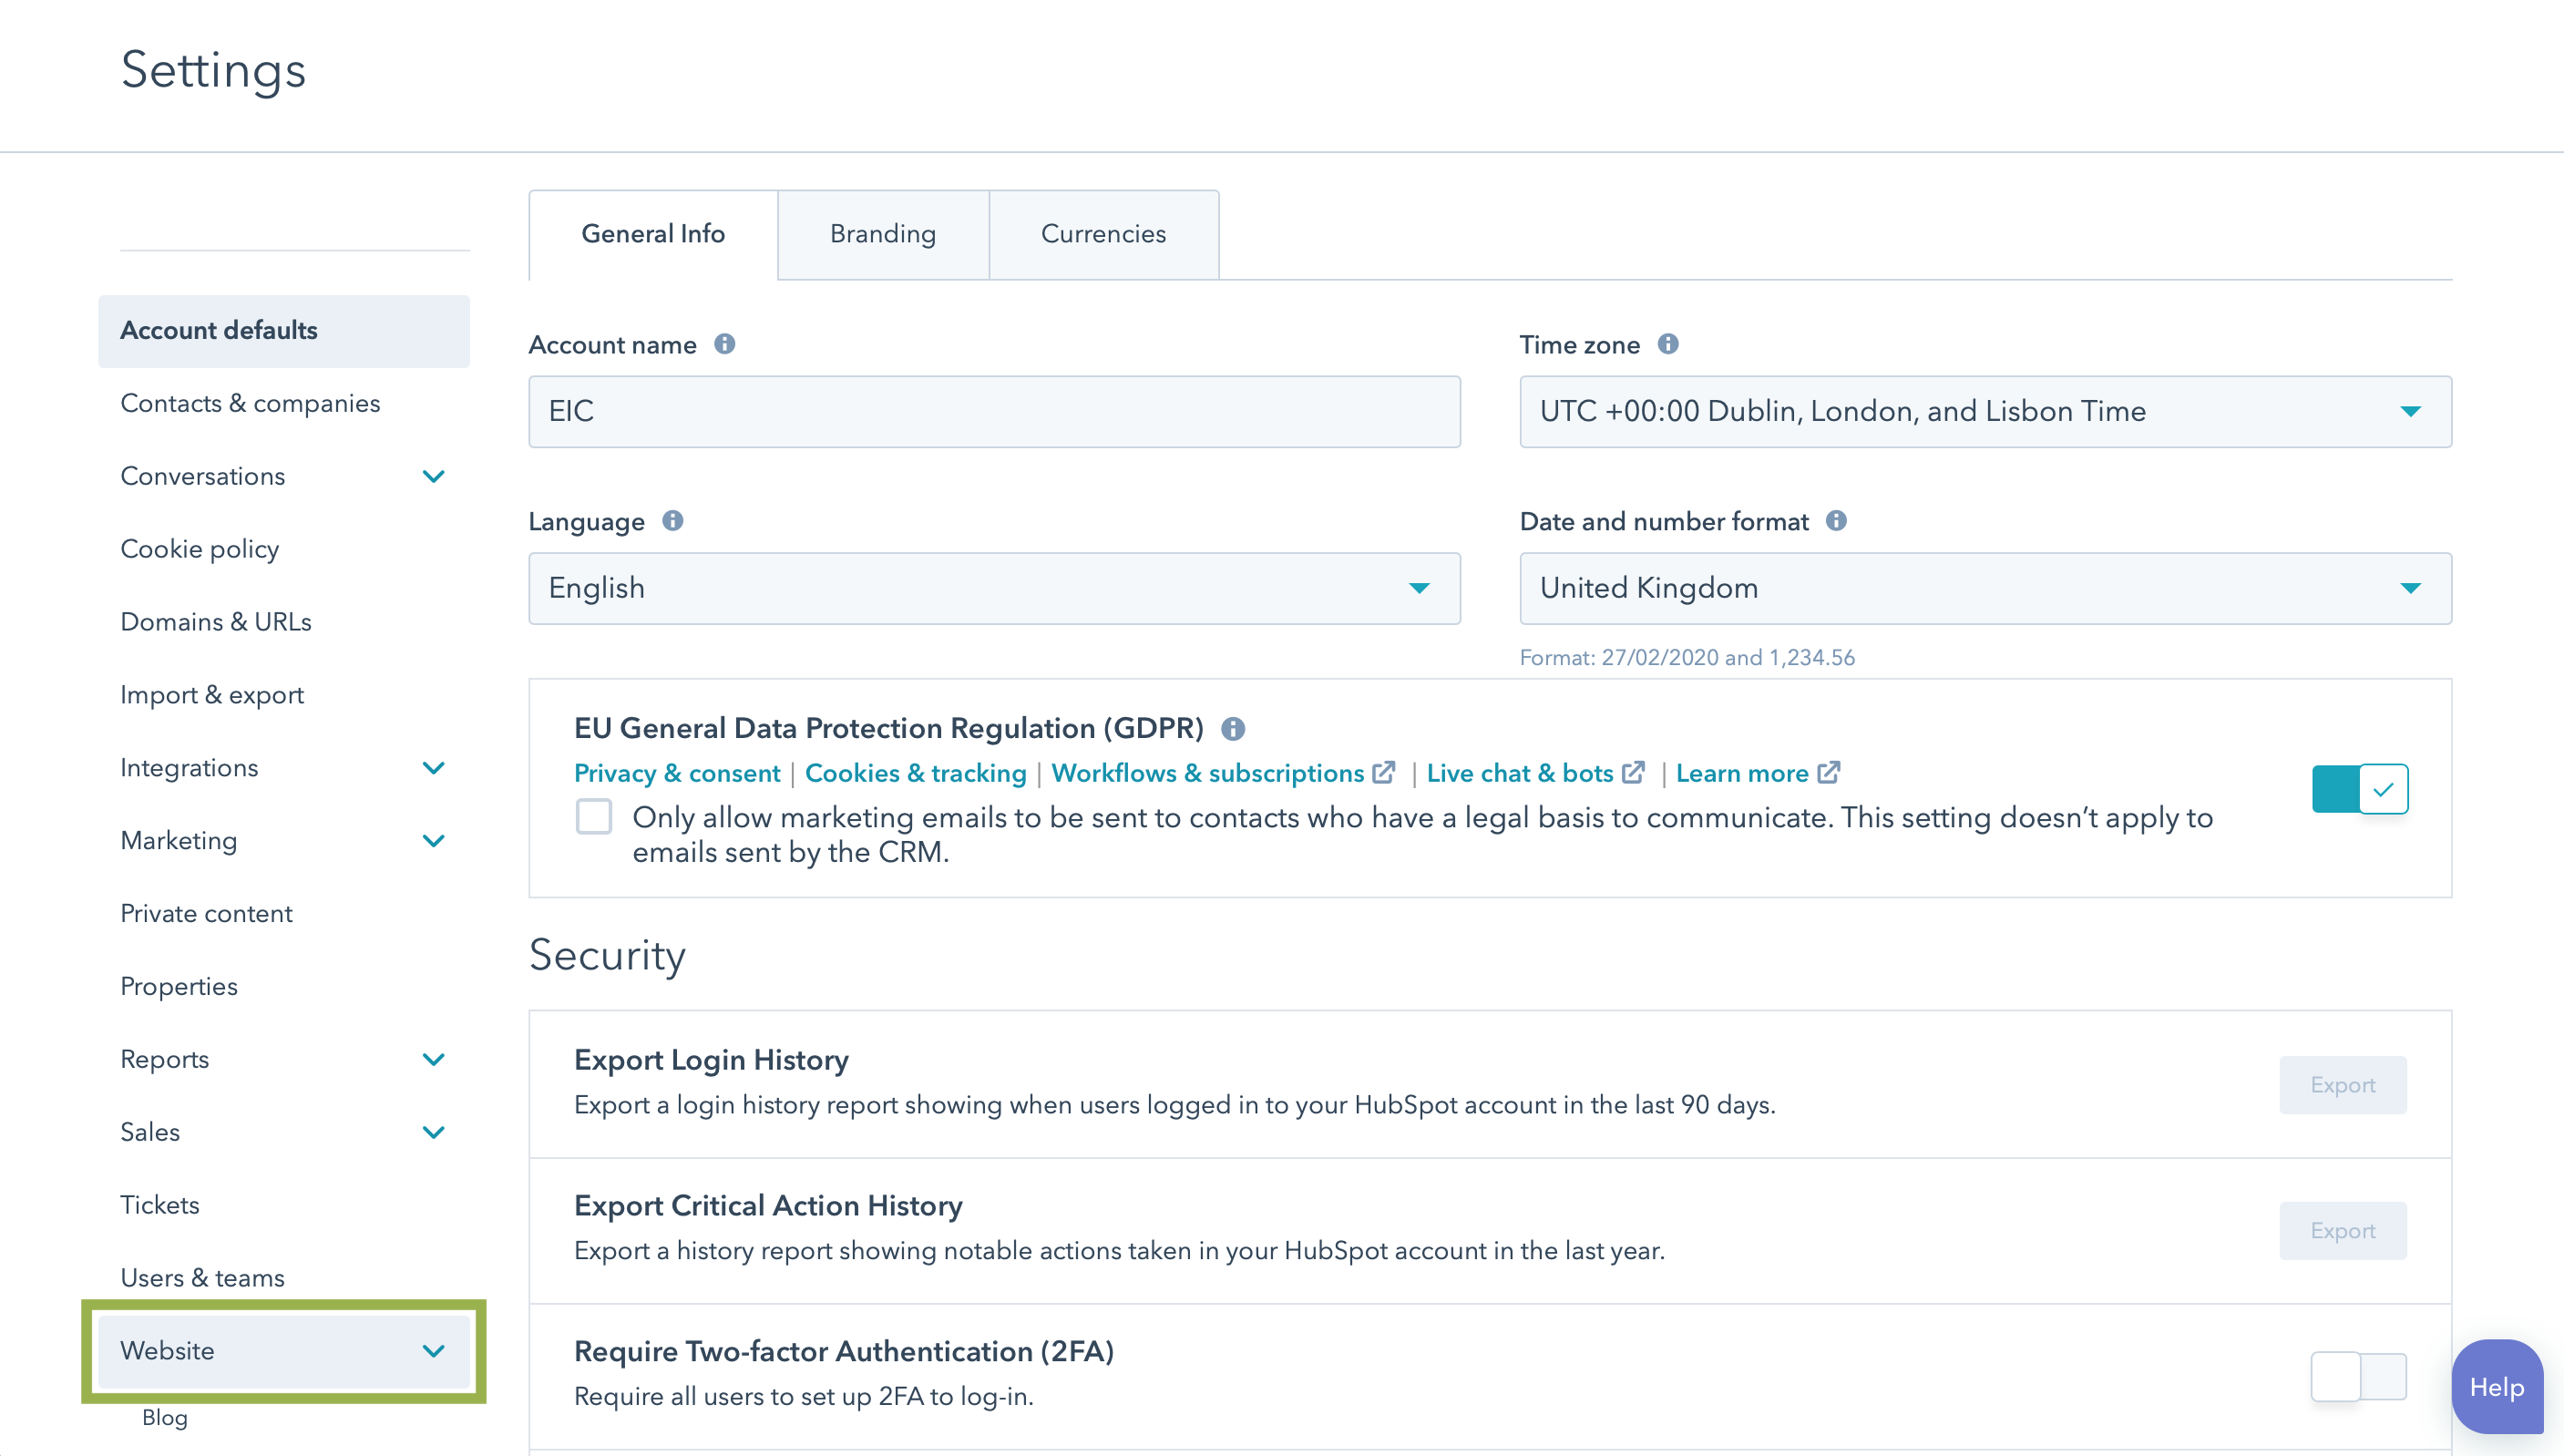
...and then select Pages
-
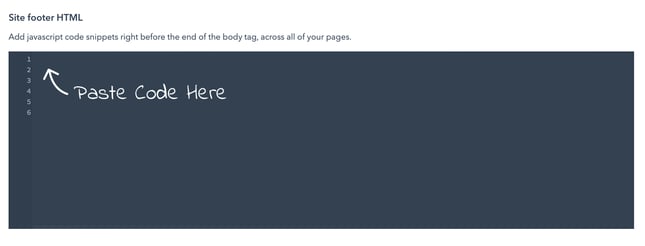
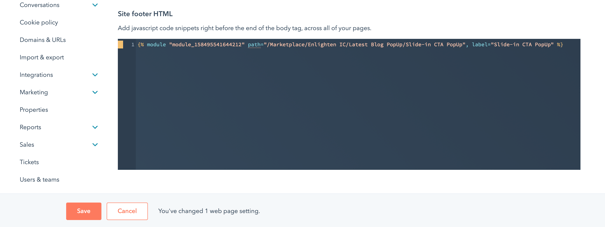
Paste the module's snippet into the section titled Site footer HTML and click Save.
-
A Save button will appear and once you click this your Slide-in CTA PopUp will be live across the pages you have specified.
How To Convert The Slide-in CTA PopUp Into A Local Module
-
Navigate to Marketing > Files and Templates > Design Manager and select the page template you would like to add a local version of the module to.
-
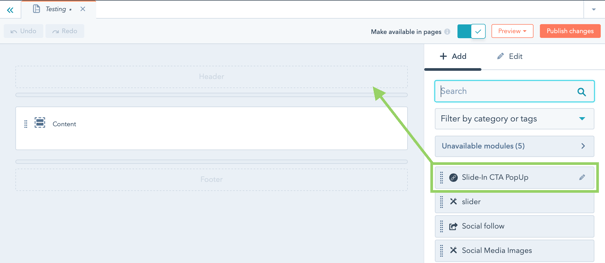
From the right hand menu select +Add and then drag Slide-in CTA PopUp into the Headersection of your template.
-
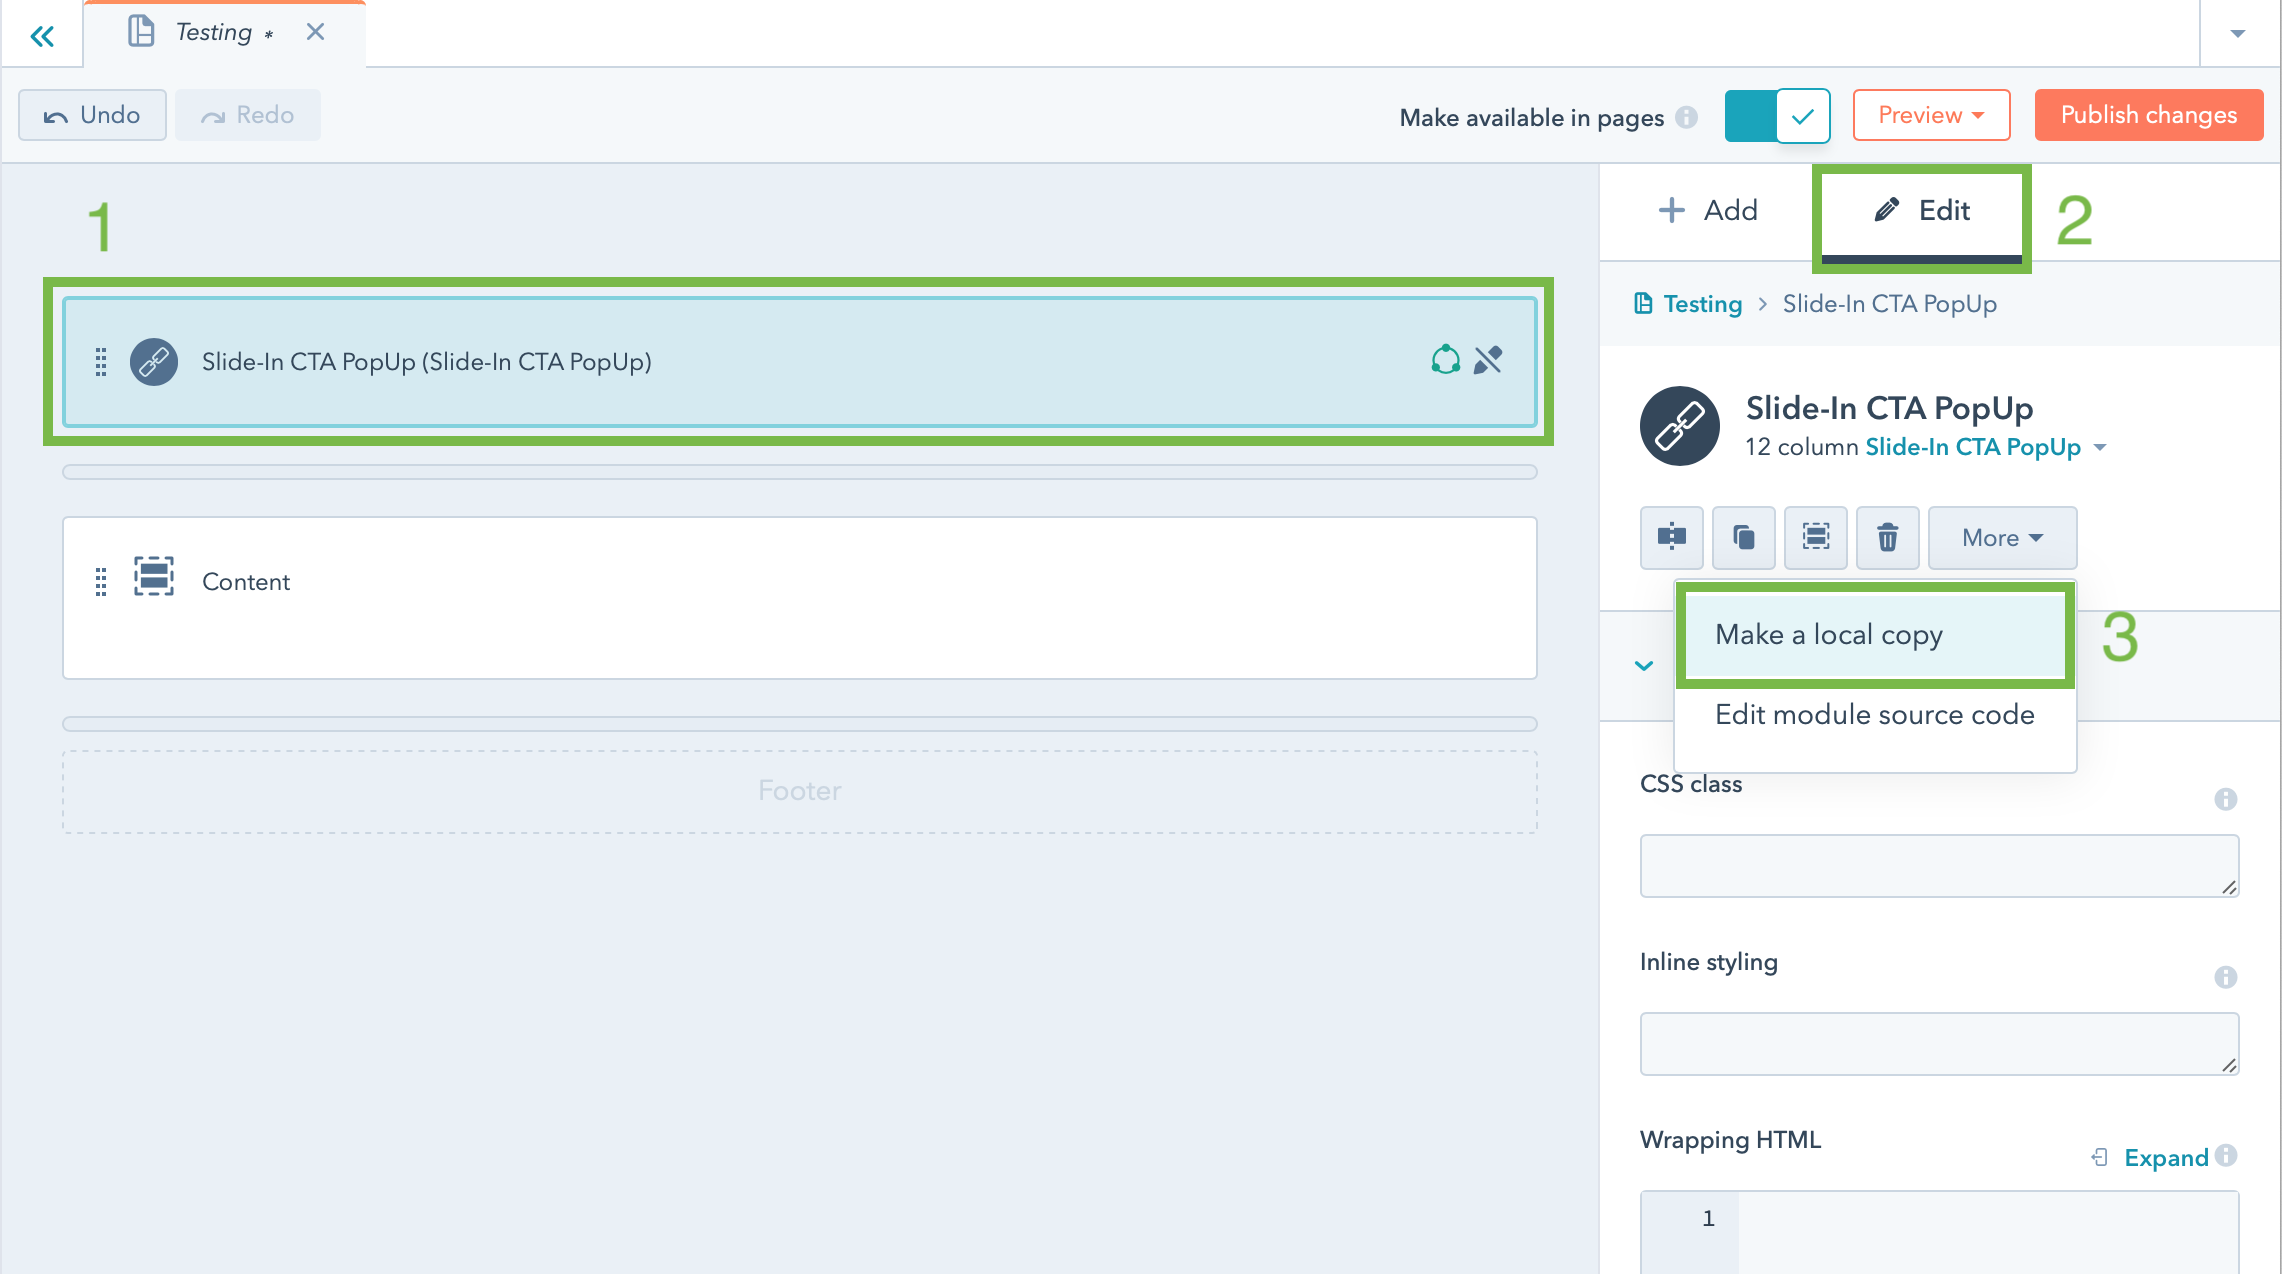
Select the module on the template editor (1) and then select Edit (2) and from the Moremenu select Make a local copy (3).
-
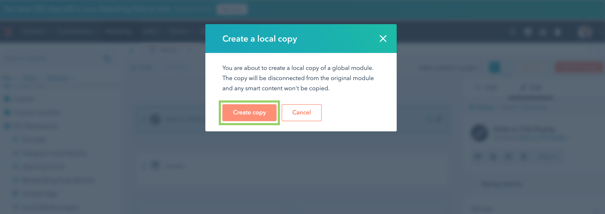
A window will appear asking if you would like to confirm this action. Select Create copy.
-
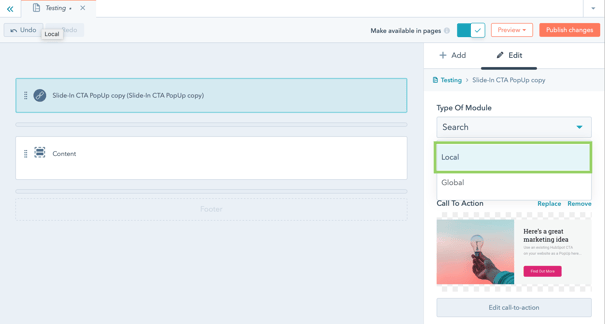
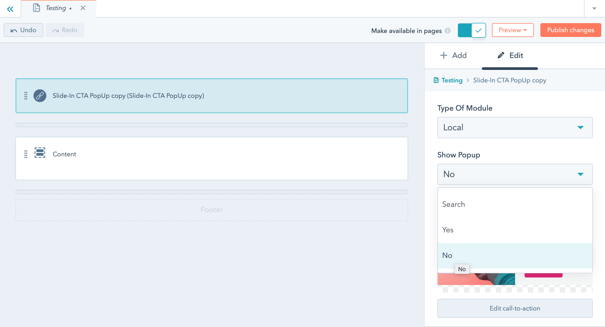
After clicking Create copy scroll to the Default Content section on the right hand toolbar and change the setting for Type of Module to Local and the setting for Show PopUp to No.
-
Click Publish changes to make the changes live.
-
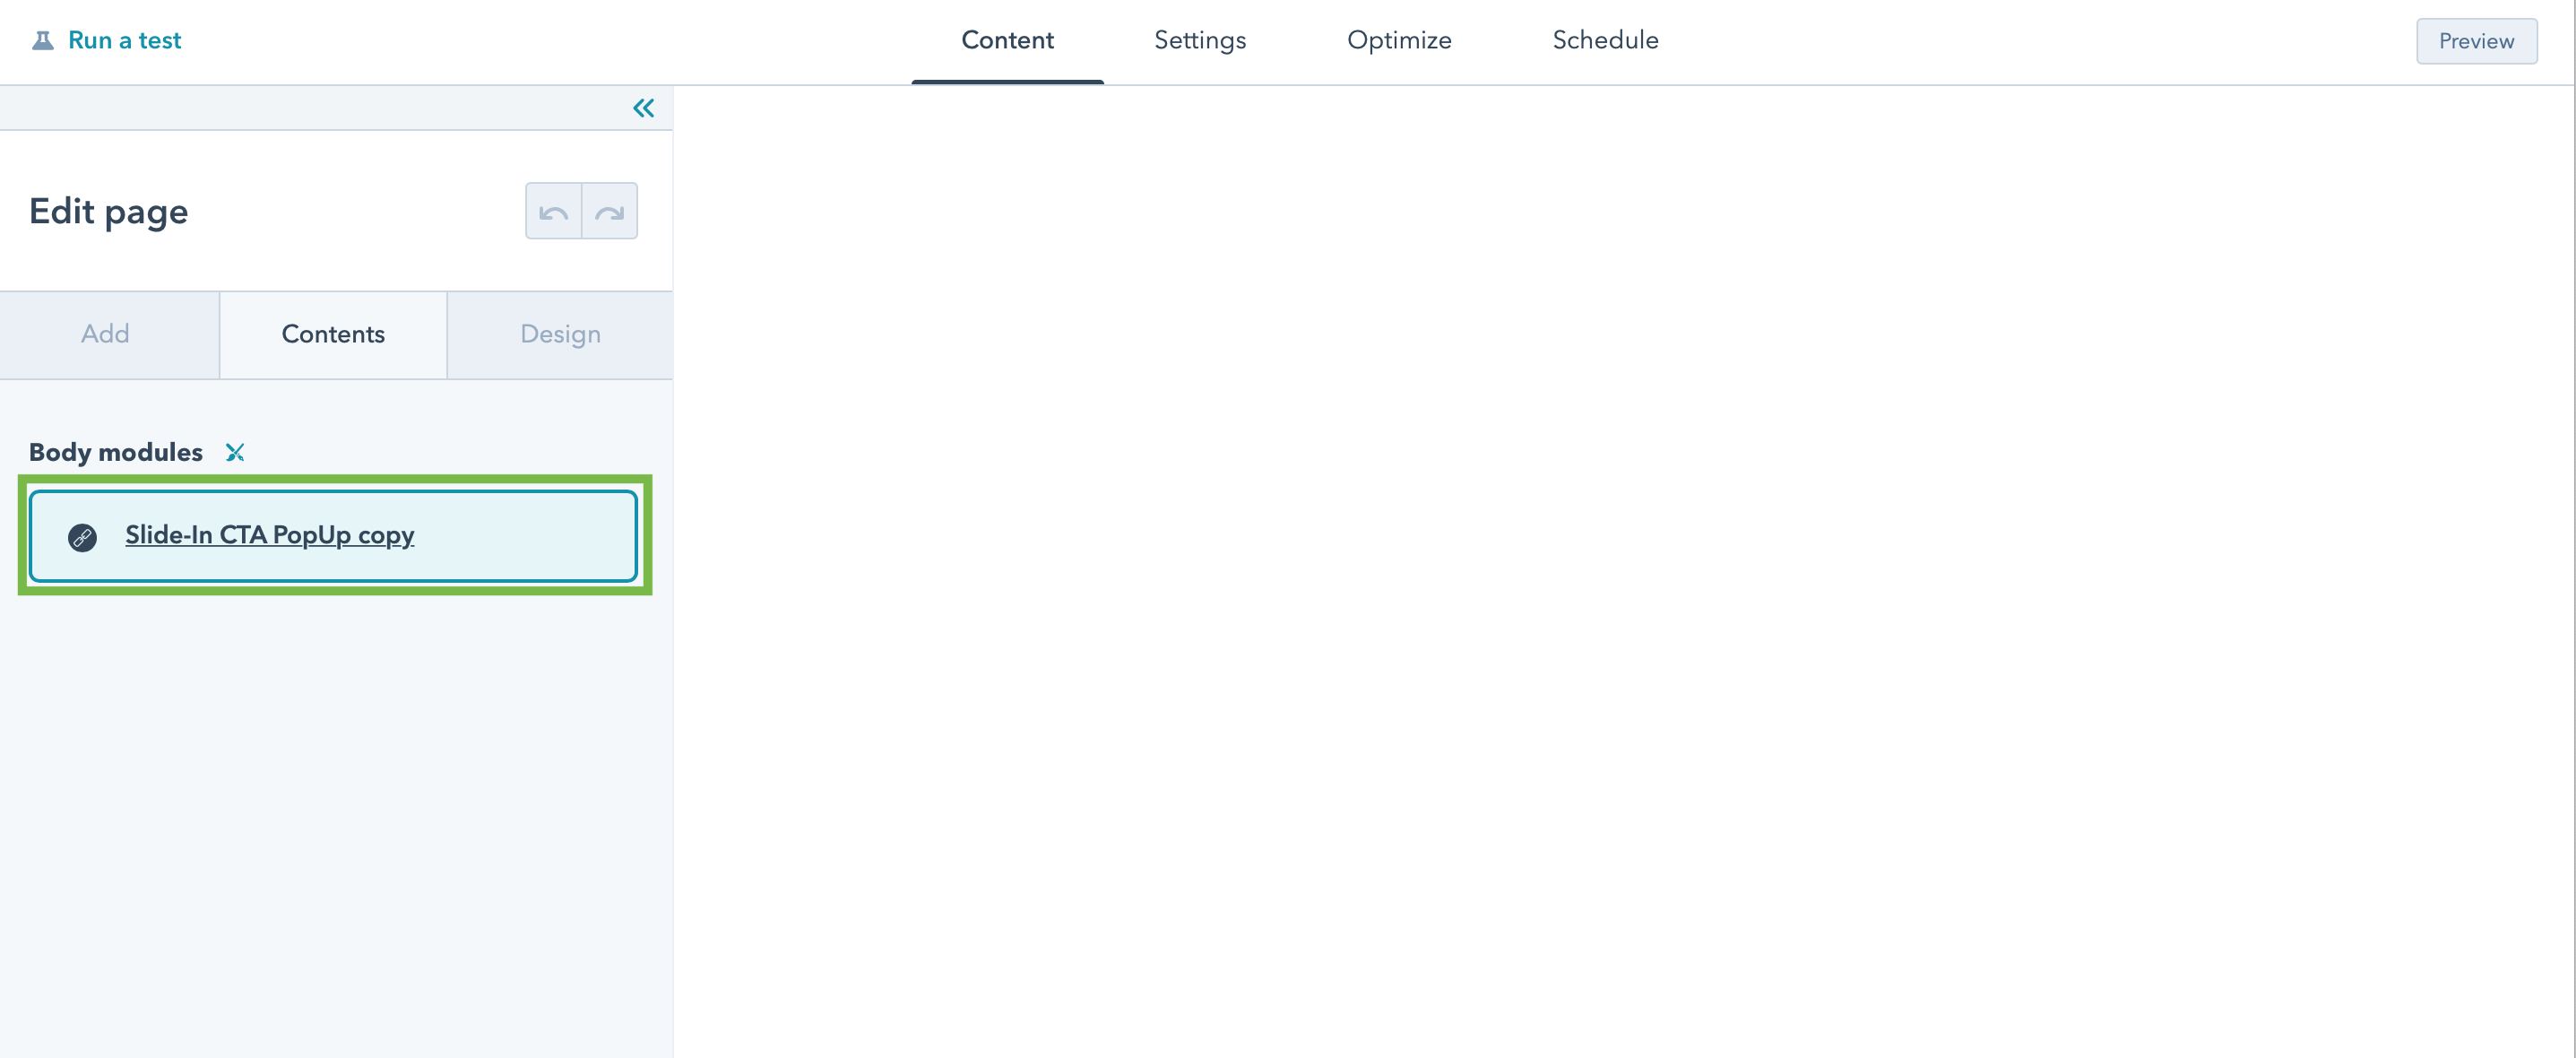
Navigate to Marketing > Website > Website Pages and select one of your pages using this template and select Edit.

-
From the Left hand menu select Slide-in CTA PopUp copy and begin editing your settings. Any edits made to the module will appear on only this page as the module is now a local module.
CSS Styles
This module has been designed to be as flexible as possible. All the CSS required to style the Announcement Bar is included within the module. It can be edited to suit your needs although we recommend using the built-in styling options as we can’t take responsibility for any CSS edits you make that break the module (or your website).
Final Thoughts
We have tried to build as much functionality into this module as possible without making it too complicated. If, however, you have specific requirements for your business, please get in touch and we will see if this module can be customised further to meet your needs or if a bespoke module would be more appropriate.
Looking For
Custom Development?
We provide development solutions for companies and agencies who need help building their websites from scratch or adding custom functionality along the way
Get In Touch